
[Flutter] StatefulWidget & setState() 정리하기
최근 업데이트 날짜:
StatefulWidget
StatefulWidget은 변경될 수 있는(mutable) 상태(state)를 가지고 있는 위젯이다.
여기서 상태는 1)위젯이 빌드되는 동시에 읽을 수 있고, 2)위젯의 생명 주기동안 변경할 수 있는 정보를 말한다.
그래서 StatefulWidget는 UI의 일부분이 동적으로 변화할 때 유용하게 사용할 수 있다.
아래는 StatefulWidget을 사용할 때의 기본 코드 구조이다.
class Example extends StatefulWidget {
  Example({Key? key}) : super(key: key);

  @override
  _ExampleState createState() => _ExampleState(); // State 생성.
}

class _ExampleState extends State<Example> {
  @override
  Widget build(BuildContext context) {
    return ... // UI에서 변화할 부분.
  }
}
StatefulWidget 인스턴스는 mutable 하지 않다. StatefulWidget 인스턴스 자체는 immutable 하지만, mutable한 상태(state)를 별도로 관리한다. 상태(state)가 저장되는 곳은 State 오브젝트이며, State 오브젝트는 createState() 메소드를 통해 생성된다.
따라서 UI에서 변화할 부분은 State 클래스의 build 메소드 리턴 값에 들어간다.
사용 예시(Counter)
기본 개념은 끝났으니 이제 예시를 통해 더 자세히 알아보자.
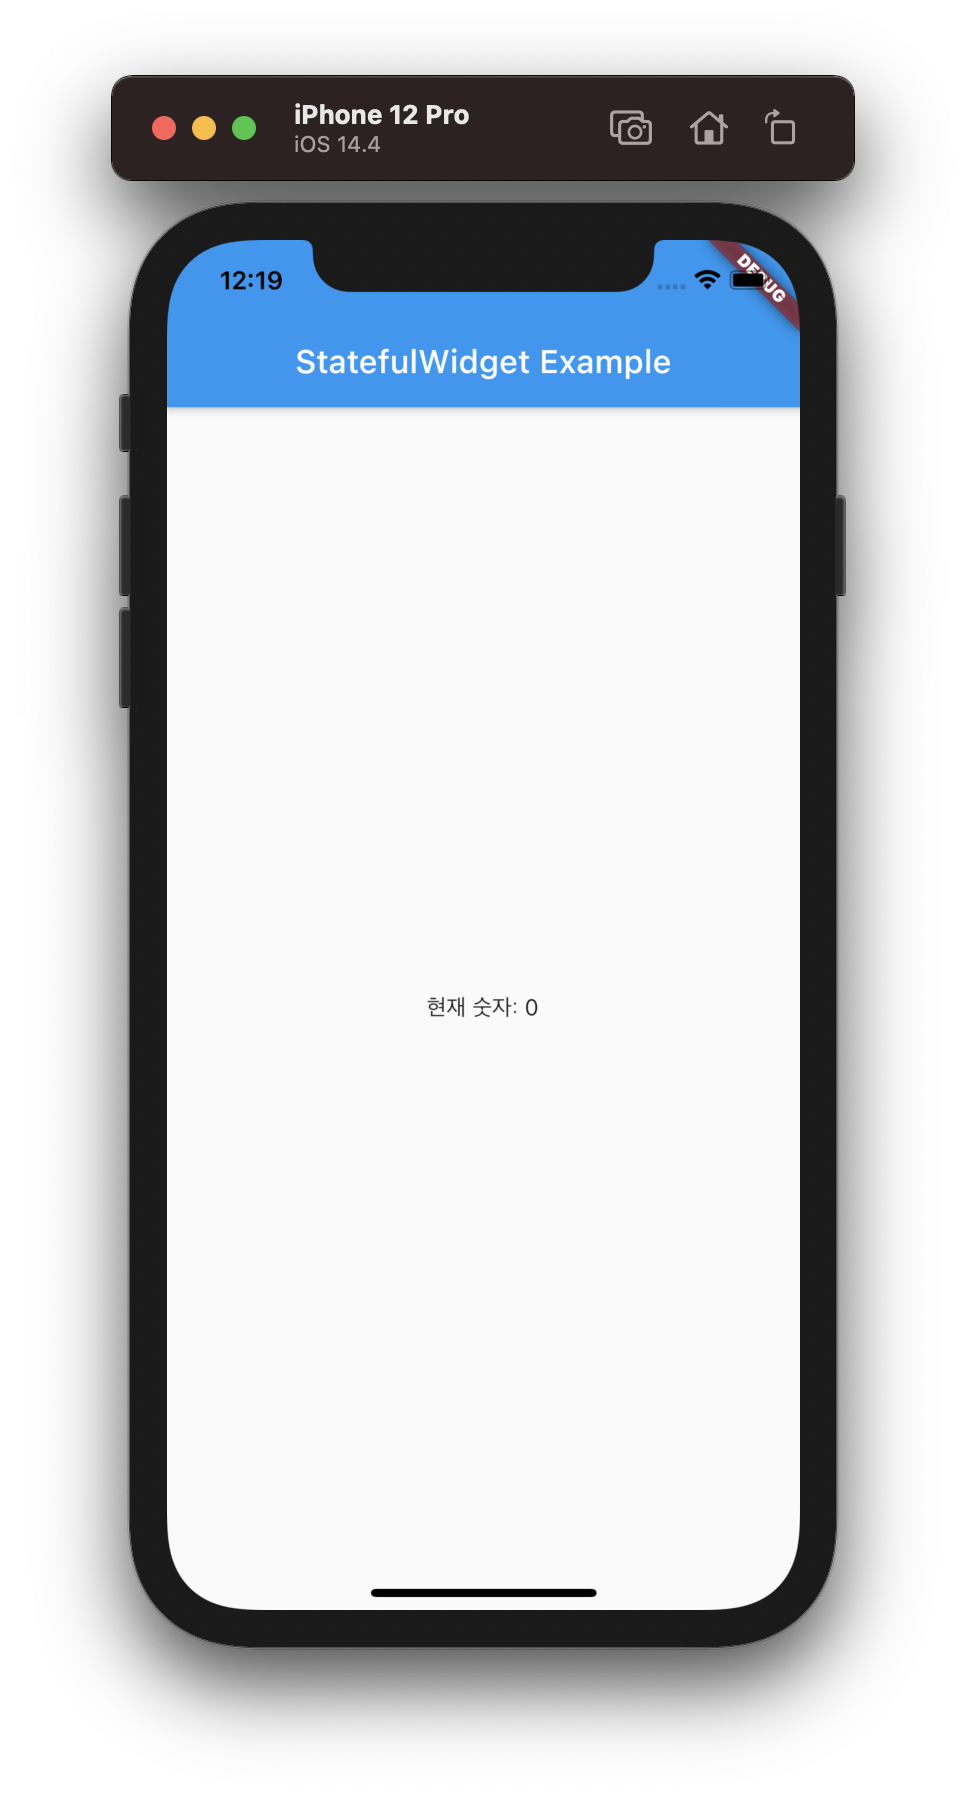
0에서 시작해서 1씩 늘어나는 Counter를 만들 것이다. 위에서 본 기본 코드 구조에 현재 숫자를 보여주는 부분만 추가한 코드는 다음과 같다.
class Counter extends StatefulWidget {
  Counter({Key? key}) : super(key: key);

  @override
  _CounterState createState() => _CounterState();
}

class _CounterState extends State<Counter> {
  int _counter = 0;

  @override
  Widget build(BuildContext context) {
    return Scaffold(
      appBar: AppBar(
        title: Text('StatefulWidget Example'),
      ),
      body: Center(
        child: Text(
          '현재 숫자: $_counter',
        ),
      ),
    );
  }
}
하지만 위의 코드에는 변경되는 UI가 없다. 숫자는 계속 0이기 때문에 아래와 같은 화면만 계속 보여준다.
숫자를 증가시키는 버튼 추가
이제 Counter에 숫자를 증가시키는 버튼을 추가해보자.
ElevatedButton를 사용해서 현재 숫자를 보여주는 Text를 버튼 안에 넣었고 onPressed 함수를 _counter++;로 설정했다.
class Counter extends StatefulWidget {
  Counter({Key? key}) : super(key: key);

  @override
  _CounterState createState() => _CounterState();
}

class _CounterState extends State<Counter> {
  int _counter = 0;

  @override
  Widget build(BuildContext context) {
    return Scaffold(
      appBar: AppBar(
        title: Text('StatefulWidget Example'),
      ),
      body: Center(
        child: ElevatedButton(
          child: Text(
            '현재 숫자: $_counter',
          ),
          onPressed: () {
            _counter++; // 버튼 클릭 시, 숫자 1 증가.
          },
        ),
      ),
    );
  }
}
이제 버튼 클릭하면 화면의 숫자가 증가할까?
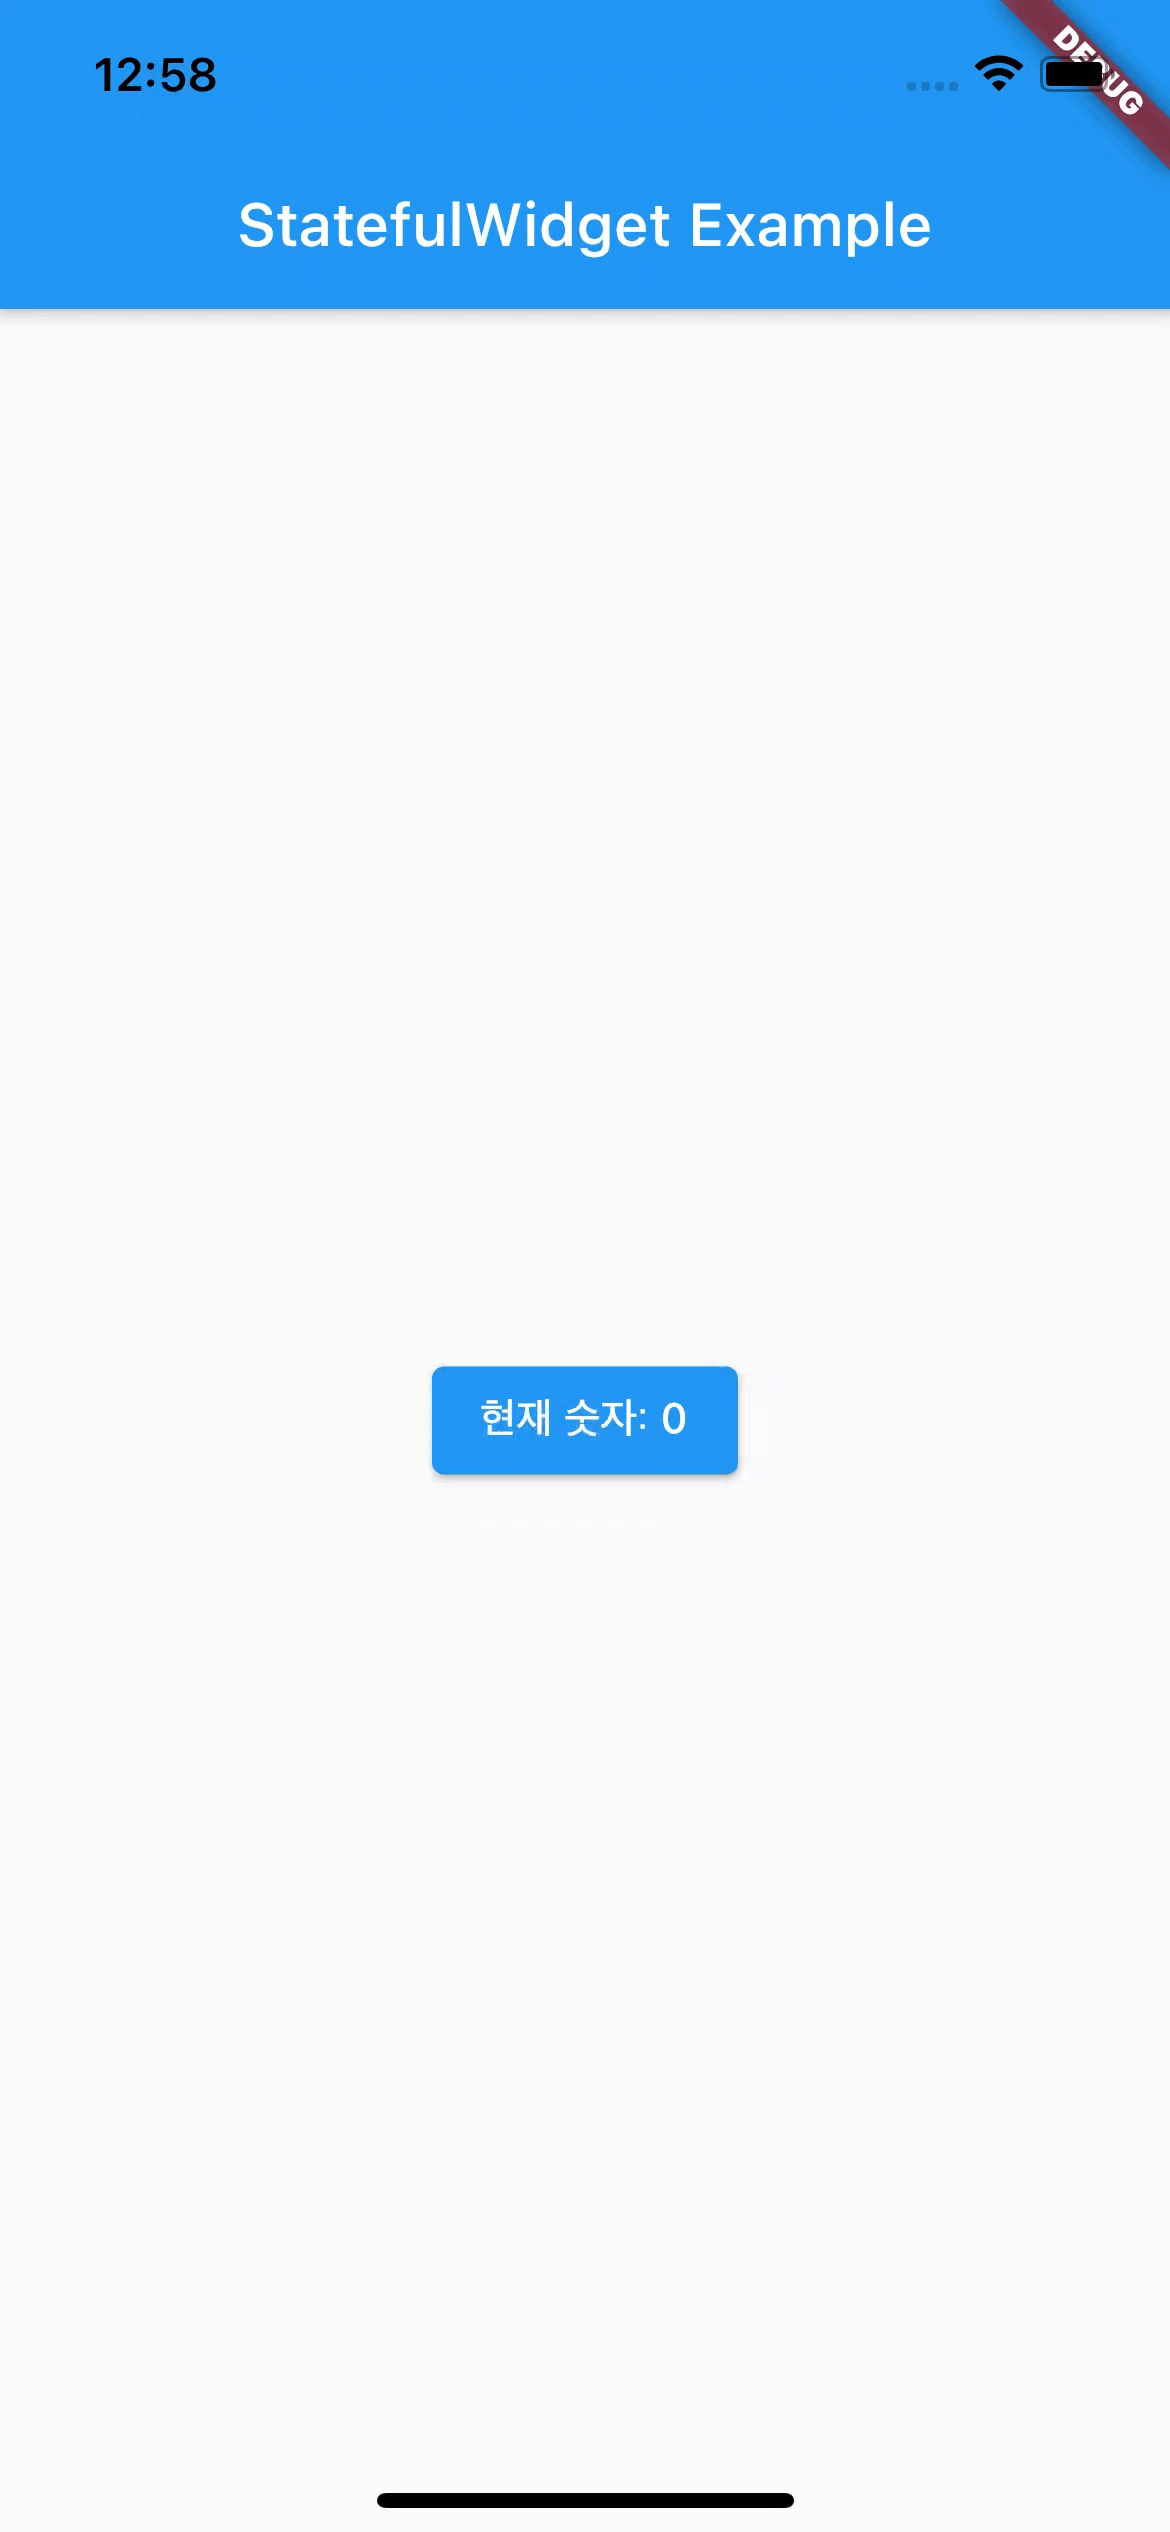
아니다. 버튼을 아무리 클릭해도 화면의 숫자는 그대로 0이다.
setState()을 사용하여 상태 변경
그럼 어떻게 해야할까?
setState()를 사용해야한다. setState()는 StatefulWidget에서 특정 오브젝트의 상태(값)를 변경하기 위해 사용하는 메소드이다.
setState() 안에서 상태를 변경하면 setState()는 이를 Flutter 프레임워크에 알려준다. 그리고 변경된 상태를 기반으로 build() 메소드를 실행시킨다.
그럼 이제 onPressed에 setState()를 추가하고 setState() 안에 _counter++;를 넣어보자.
class Counter extends StatefulWidget {
  Counter({Key? key}) : super(key: key);

  @override
  _CounterState createState() => _CounterState();
}

class _CounterState extends State<Counter> {
  int _counter = 0;

  @override
  Widget build(BuildContext context) {
    return Scaffold(
      appBar: AppBar(
        title: Text('StatefulWidget Example'),
      ),
      body: Center(
        child: ElevatedButton(
          child: Text(
            '현재 숫자: $_counter',
          ),
          onPressed: () {
            setState(() { // setState() 추가.
              _counter++;
            });
          },
        ),
      ),
    );
  }
}
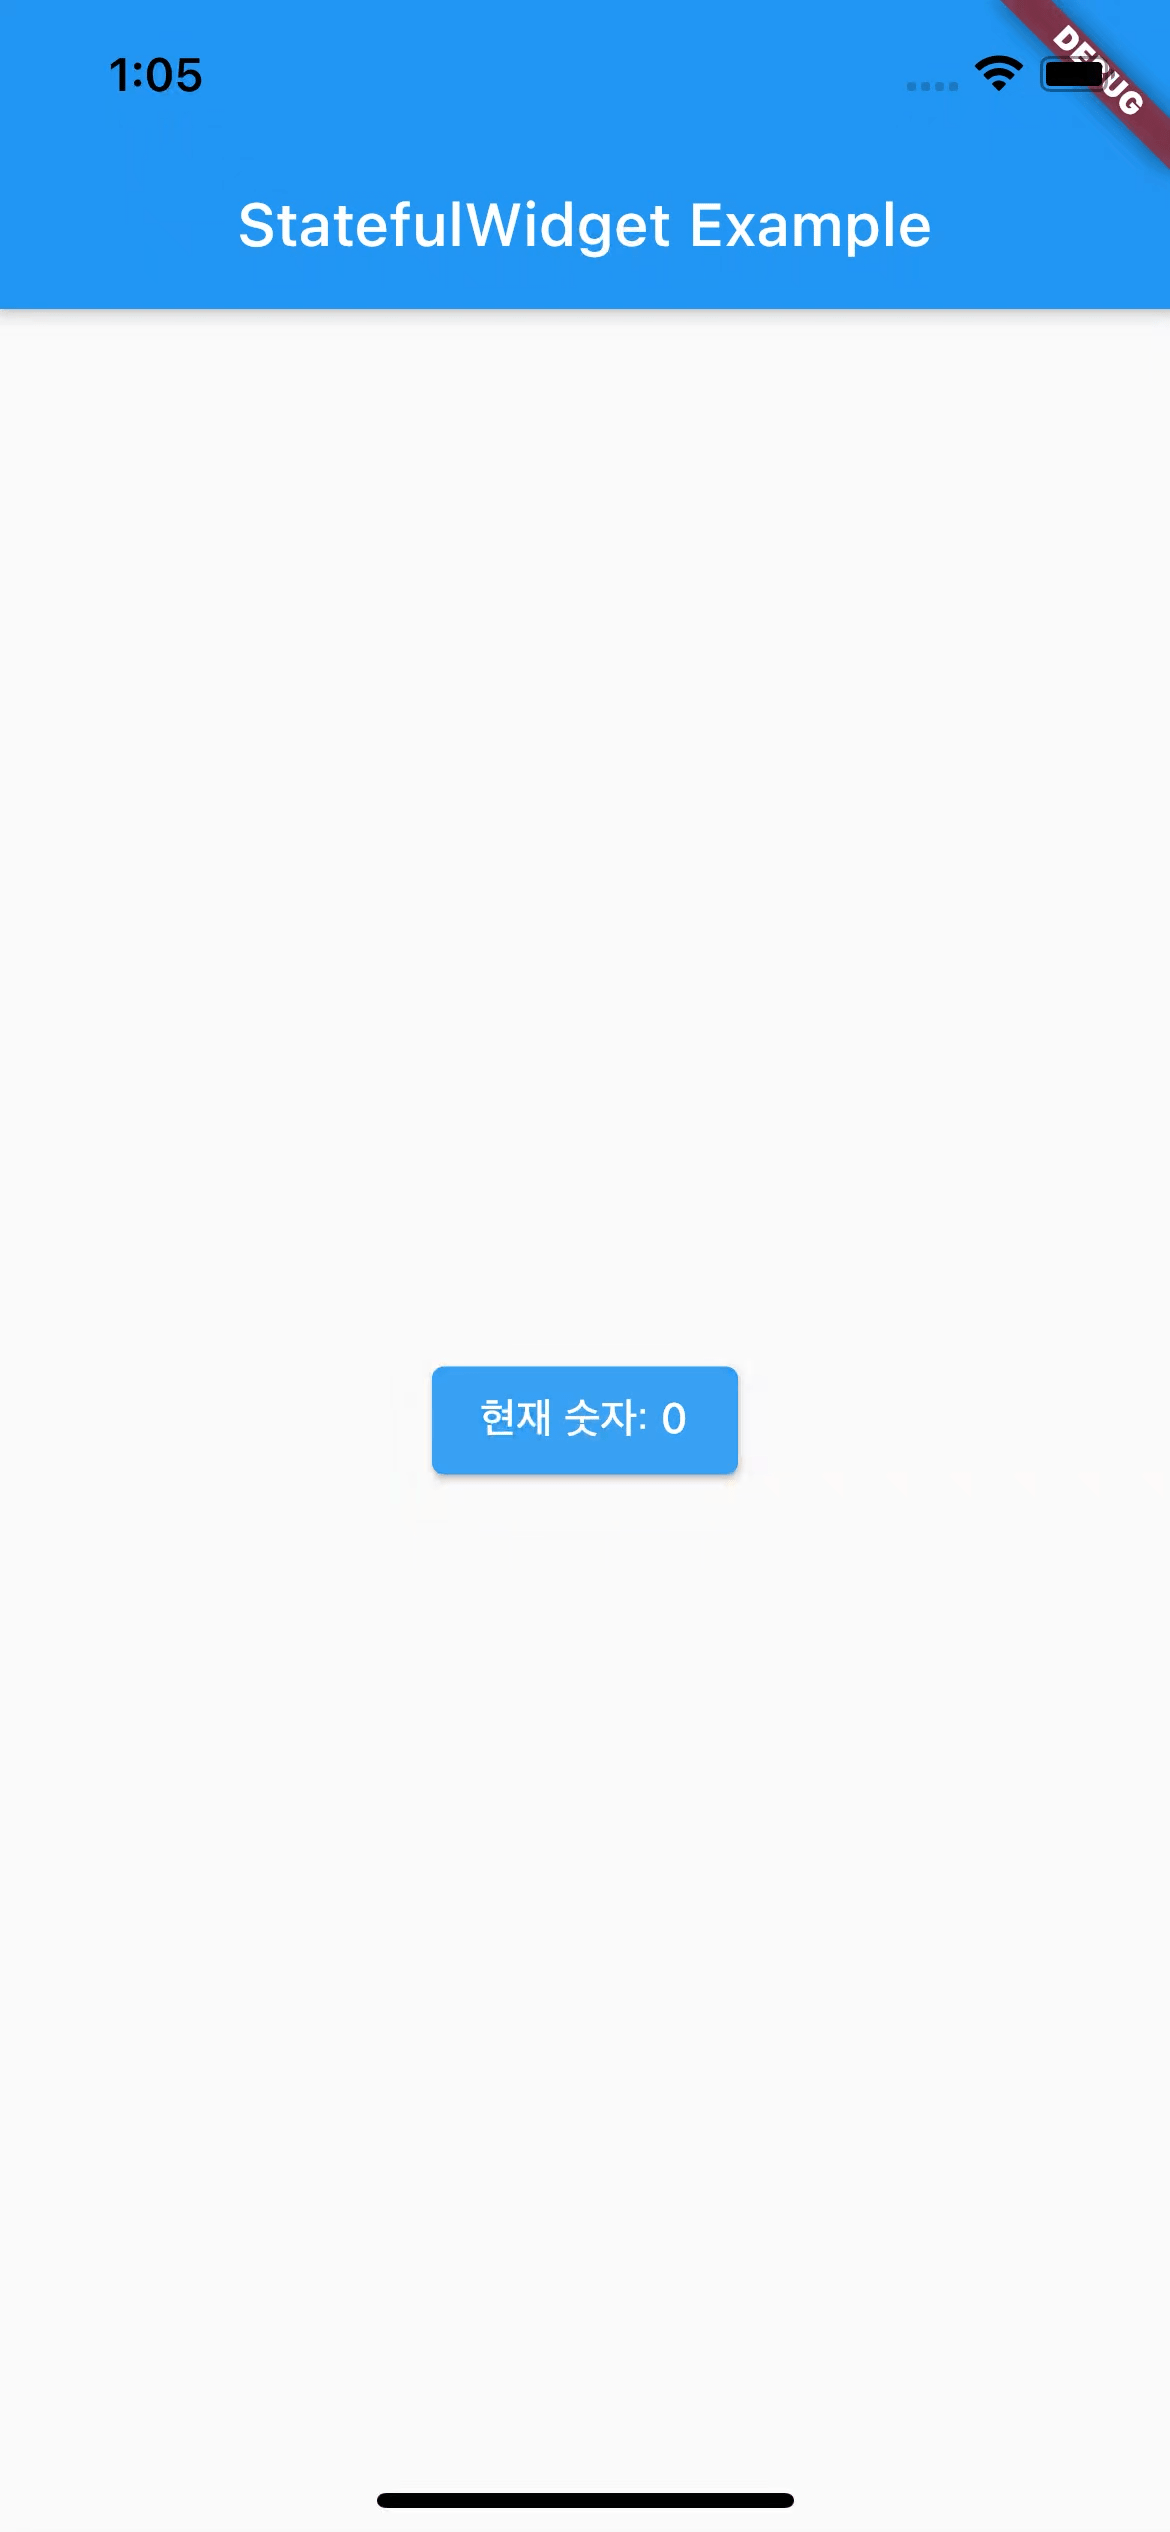
이제 버튼을 클릭하면 숫자가 늘어나고, setState()가 이를 Flutter 프레임워크에 알려서, 증가한 숫자(변경된 상태)를 기반으로 build() 메소드를 실행한다. 결국 아래와 같이 클릭할 때마다 화면의 숫자가 늘어나게 된다.
댓글남기기